Transformez votre cuisine avec l’aide de notre blog spécialisé dans l’organisation et le rangement, pour une vie plus harmonieuse dans une cuisine organiser.
Les derniers articles du blog
-
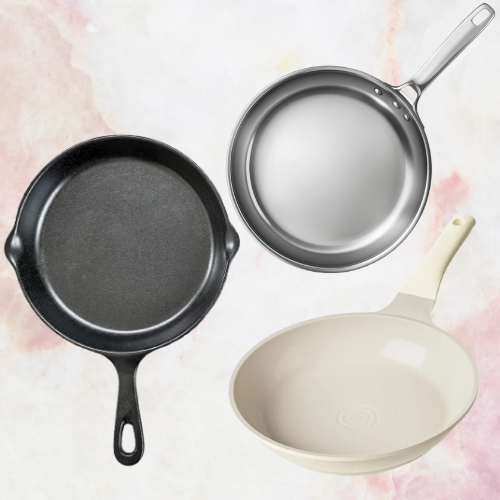
Quelle Poêle de Cuisson Choisir pour une Cuisine Saine ? Guide Complet
Introduction La poêle est un ustensile indispensable dans toutes les cuisines, mais savez-vous que toutes…
-
Les meilleurs électroménagers de cuisine
Que vous soyez un cuisinier amateur ou un professionnel passionné, l’un des aspects les plus…
-
Comment organiser ses épices ?
Les épices sont l’âme de la cuisine, elles apportent saveurs et arômes à nos plats…
-
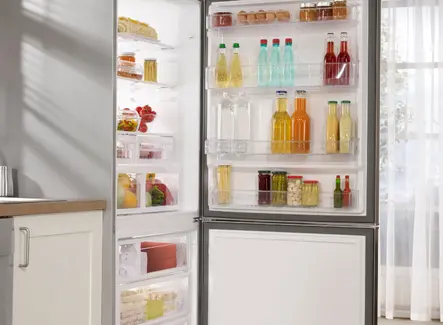
Ranger votre frigo en moins de 30 minutes
Ranger votre frigo peut sembler être une tâche fastidieuse, mais c’est une étape importante pour…
-
10 Astuces pour organiser son réfrigérateur
Organiser son réfrigérateur peut sembler être une tâche anodine, mais cela peut pourtant avoir des…
-
Les 5 meilleurs accessoires pour organiser ses ustensiles de cuisine
L’organisation de votre cuisine peut grandement influencer votre expérience culinaire en tant que cuisinier amateur…


My tidy kitchen
Notre équipe est composée de passionnés d’organisation et de cuisine, qui travaillent chaque jour pour vous offrir des conseils pratiques et des astuces pour avoir une cuisine organiser, optimiser votre espace de rangement et faciliter votre quotidien.